How to Install a Remote Start System in Your Car
Picture getting into a warm car on a cold winter morning or cool during a hot summer day. That’s the appeal of a remote start system. Installing a remote starter is a smart upgrade for today’s drivers. It helps warm your engine, clears frosted windows, and adds convenience.
Remote start systems are becoming more popular in the UK, and this trend is growing as smart vehicle technology advances. This guide shows you how to install a remote start system in your car. It includes clear instructions, helpful tips, and expert advice for UK drivers.
Understanding the Core: What Is a Remote Start System?
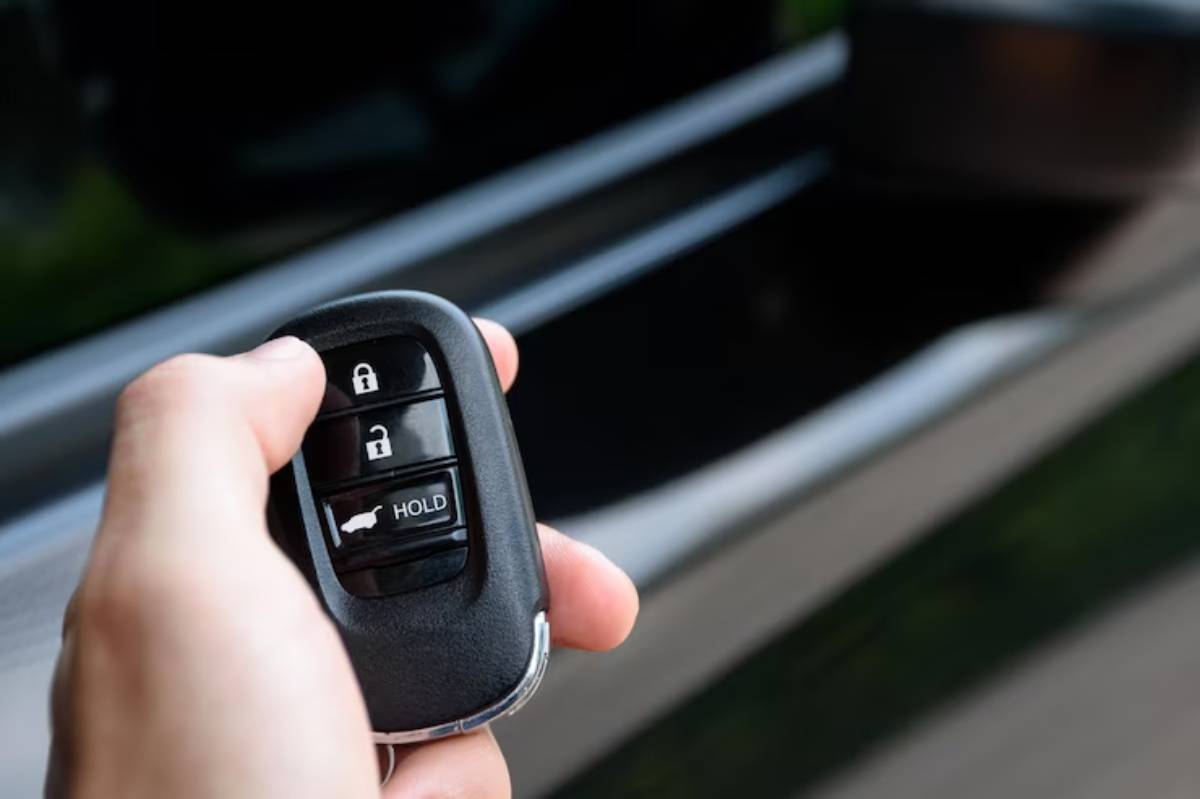
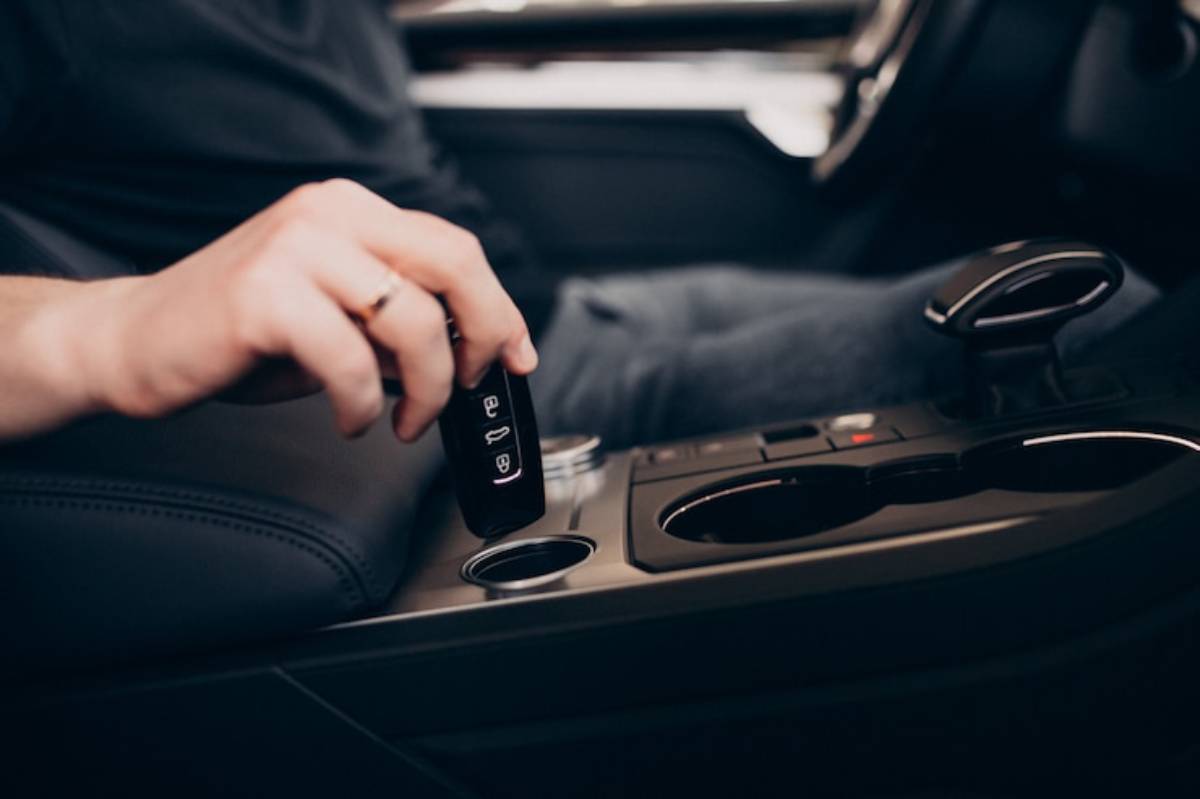
A remote start system lets you start your car’s engine from a distance using a key fob or smartphone app. When activated, it acts like turning the key in the ignition, starting the engine. It can also turn on heated seats, window defrosters, and air conditioning in some systems.
There are two primary types:
- OEM Remote Starters: These are pre-installed by the vehicle manufacturer. They are usually limited to newer models and come with the vehicle’s original key fob.
- Aftermarket Remote Starters: These are sold separately. They usually have more features and work with more vehicles. However, you need to install them yourself or with help from a pro.
A remote start system needs to connect to your car’s ignition system. Sometimes, it must also bypass factory immobilisers or anti-theft devices.
Quick Guide Summary: Key Installation Steps
- Identify vehicle compatibility and select the right remote start kit
- Gather required tools and safety gear
- Disconnect the car battery
- Access the ignition wires and prepare connections
- Install the starter module and any bypass systems
- Fit the antenna and optional smartphone controller
- Reconnect the battery and thoroughly test the system
- Secure wiring and reassemble dashboard panels
Step-by-Step Guide: How to Install a Remote Start System
1. Choose the Right Remote Start Kit
Not all remote start systems are universal. Choosing the correct one for your vehicle is essential.
Key considerations include:
- Vehicle compatibility: Check the make, model, and year.
- Transmission type: Manuals typically require a neutral safety switch or clutch bypass.
- Desired features: Some kits offer long-range control, smartphone apps, or climate integration.
- Brand reputation: Look for trusted brands like Viper, Compustar, and Avital. They provide clear instructions and good support.
You probably need a bypass module if your car has a transponder key or a factory immobiliser. This module will work with your starter kit.
2. Gather the Right Tools and Materials
Before you begin installation, ensure you have the following:
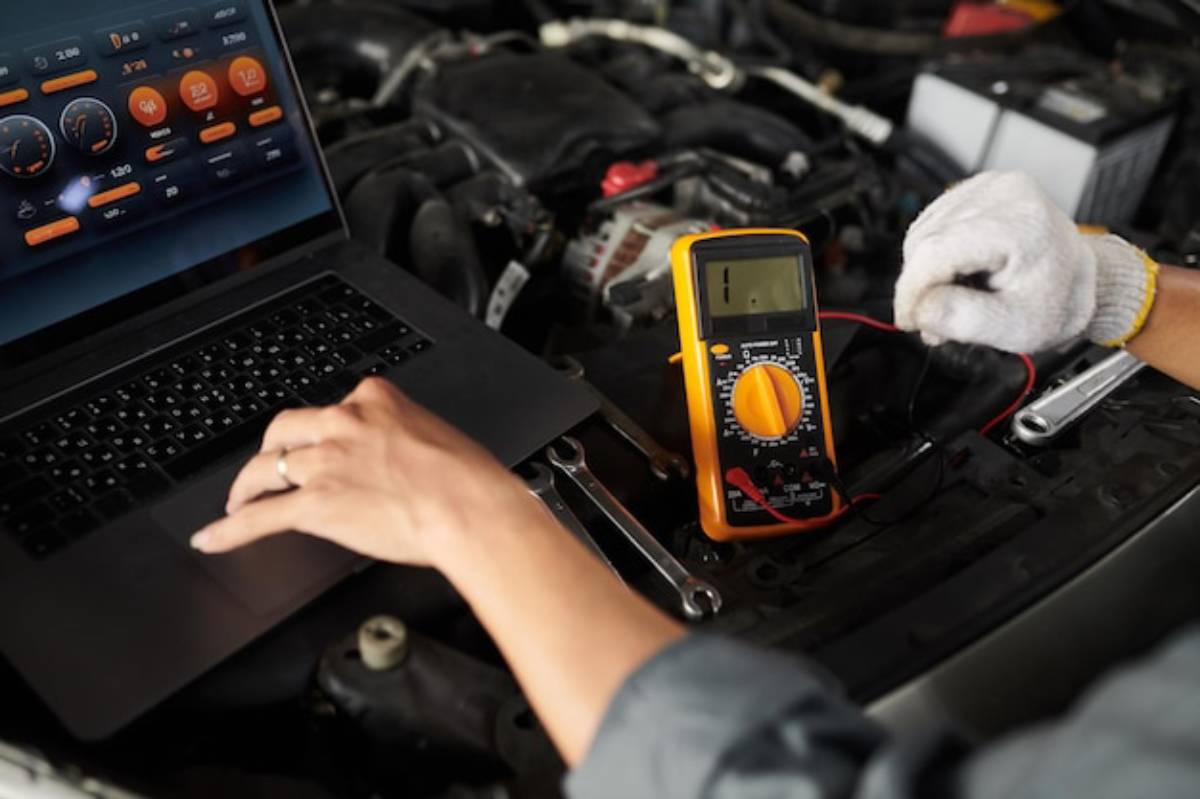
- Vehicle-specific wiring diagram (available online or in a service manual)
- Multimeter (to test voltage and confirm wire functions)
- Wire strippers, crimpers, and a soldering iron
- Heat shrink tubing or quality electrical tape
- Panel removal tools and screwdrivers
- Cable ties for tidy installation
- Optional: Bypass module for anti-theft systems
Working in a well-lit garage or dry outdoor area will make the process safer and easier.
3. Disconnect the Battery
Always disconnect the negative terminal of your car battery before beginning electrical work. This reduces the risk of electrical shorts, accidental airbag deployment, and harm to delicate electronics.
4. Access the Ignition Wires
Next, remove the lower steering column cover to expose the ignition harness. Using your multimeter, test and label each of the following wires.
- 12V constant
- Ignition wire
- Starter wire
- Accessory wire
Correct identification is crucial for proper function. Label each wire clearly to avoid confusion during installation.
5. Make the Wire Connections
Now connect your remote starter module to the ignition system.
- Strip and solder wires securely, or use high-quality crimps for a stable connection.
- Don’t use quick-splice connectors. They can create weak connections and cause failures later on.
- If your vehicle has a chip key or immobiliser, follow the bypass module’s instructions carefully.
- Connect these wires to the vehicle’s central locking circuit if the kit has door lock control.
Using heat shrink or electrical tape to insulate connections helps stop shorts. It also boosts reliability.
6. Install the Antenna and Optional Smartphone Module
Most remote starter kits come with an antenna for signal reception. This antenna should be mounted high on the windscreen, close to the rear-view mirror. This maximises range and ensures better performance.
If you’re using a smartphone-compatible system, connect the module to the control unit. Then, pair it through the app. Follow any setup instructions to register and sync your device.
7. Reconnect the Battery and Test the System
Re reconnect your car battery once all wiring is complete and the antenna is installed. Test the remote start function thoroughly.
- Remote start activation: Ensure the vehicle starts reliably from the fob or app.
- Brake override: The Engine should shut off if the brake is pressed without the key in the ignition.
- Hood safety switch: Prevents remote start if the bonnet is open.
- Climate control: Verify whether the car’s air con or heaters activate as expected.
Check every feature multiple times to ensure stability and safety before moving on.
8. Secure Wires and Reassemble Panels
A tidy installation makes a big difference. Use cable ties to secure all wiring away from moving parts, pedals, and heat sources. Neatly bundle the wires. Then, reattach any dashboard or steering column panels you took off during installation.
Double-check that no wires are pinched or obstructing the steering or pedals.
Pro Tip: Avoid placing it behind metal components or deep inside the dash. Line-of-sight mounting offers the best range.
Important: If your car won’t start with the remote, it may be due to an unaddressed immobiliser.
Best Practices and Extra Insights
- Label every wire as you go: It may seem tedious, but it saves time and confusion.
- Use weatherproof parts: This is key if any hardware is in the engine bay.
- Plan: Choose a dry weekend, set aside a few hours, and don’t rush.
Advanced users can link some remote start systems to heated seats, defrosters, or voice assistants, thanks to smart tech add-ons.
Frequently Asked Questions
Q: Is remote start legal in the UK?
Yes, but you must not leave a vehicle running unattended on public roads. You can idle on private driveways or controlled property. Just be sure to check local council rules about idling.
Q: Can I install it myself, or should I hire a professional?
If you’re skilled with vehicle electrics and have the right tools, you can do it yourself. However, for modern vehicles with complex systems, it’s safer to choose a certified installer.
Q: Will a remote start system drain my battery?
Not when installed correctly. These systems only use power when activated, like your car alarm or remote lock.
Q: Can I start my car from my phone?
Yes, many systems now offer app-based controls. You’ll need mobile data or Wi-Fi access and a compatible smartphone module.
Conclusion: Start Your Car Remotely with Confidence
Installing a remote start system makes your car more convenient. You can pre-warm the cabin, prepare your defrosters, and enjoy keyless start. Installing can be tricky, but you can do it. Just be patient, use the right tools, and focus on details.
This DIY mod is worth it if you want comfort, tech upgrades, or everyday practicality.
