How to Install a Custom Exhaust System Like a Pro
The aggressive growl of a finely tuned exhaust is thrilling. Your car’s sound shows its personality—it could be a soft rumble from a sports saloon or a loud bark from a modified coupe—and it also reflects yours.
Putting in a custom exhaust system is one of the best upgrades for car lovers. In 2025, many systems will be available, and DIY tools will be improved. Upgrading your car’s exhaust is now easier than ever. This guide helps you install a custom exhaust system. Whether you want to boost sound, improve performance, or cut weight, you’ll do it confidently.
Quick Guide: Installing a Custom Exhaust System
- Choose Your System: Pick between cat-back, axle-back, header-back, or straight pipe based on your goals, budget, and road legality.
- Gather Tools: Socket set, breaker bar, axle stands, torque wrench, penetrating oil, exhaust sealant, gloves, safety gear.
- Prep the Vehicle: Cool engine, disconnect battery, and safely elevate the car with stands or a lift.
- Remove Stock Exhaust: Spray bolts with penetrating oil. Start at the rear, unbolt flanges/clamps, and detach hangers. Cut if necessary.
- Layout New System: Arrange in install order. Check all hardware. Apply anti-seize to bolts.
- Install New Exhaust: Start at the front, loosely fit all parts. Use hangers, align pipes, and ensure clearance from the body and components.
- Tighten and Seal: Torque bolts to spec. Apply sealant at joints if needed. Ensure no contact with chassis or heat-sensitive parts.
- Test It: Lower the car, reconnect the battery, and start engine. Check for leaks, rattles, and correct tip alignment. Go for a short test drive.
Important: Have a grinder or saw ready for stubborn, rusted bolts, especially on older vehicles.
Pro Tip: Don’t fully tighten until every section is aligned properly
Understanding the Core: Why Upgrade Your Exhaust System?
Your exhaust system does more than just emit fumes. It plays a crucial role in engine performance, emissions control, and noise regulation. A custom exhaust replaces factory components with performance-focused alternatives designed.
- Improved Performance: Aftermarket systems reduce backpressure, allowing combustion gases to exit more freely. This improves horsepower and torque, especially at higher revs.
- Improved Fuel Efficiency: Better exhaust flow eases engine strain, leading to slight gains in fuel economy.
- Enhanced Sound: Depending on your system, you can go from a quiet hum to a full-bodied growl.
- Corrosion Resistance: Top-grade stainless steel and titanium resist rust more effectively than many factory systems.
- Weight Reduction: Performance exhausts often weigh significantly less than OEM systems.
This upgrade is popular with performance fans. It offers great benefits and a sensory boost. You can feel the power and hear the change.
Types of Custom Exhaust Systems
Choosing the right system depends on your budget, goals, and legal requirements.
1. Cat-Back System
The most common cat-back upgrade replaces all parts from the catalytic converter to the tailpipe. It balances performance, sound, and road legality and won’t affect emissions hardware.
2. Axle-Back System

This system covers the back part, from the axle to the tailpipe. It often replaces the muffler and rear piping. It’s more affordable and straightforward to install, but offers limited performance gains.
3. Header-Back System
This full-system upgrade starts at the engine exhaust headers and goes to the tailpipe. It offers the best performance gains. However, it’s more complex. It often needs a lot of tuning and legal checks.
4. Straight Pipe / Muffler Delete
Designed for track cars or off-road builds, these systems eliminate mufflers. They provide maximum volume but are often illegal to use on the road. This is due to noise and emissions rules.
Legal Note (UK): DVSA rules say exhaust systems can’t be too loud or cause higher emissions. Taking off emissions gear, such as catalytic converters or DPFs, can lead to an MOT failure or fines.
Pre-Installation: What You’ll Need
Tools & Equipment
- Socket wrench set (including deep sockets)
- Breaker bar (for stubborn bolts)
- Penetrating oil (e.g. WD-40)
- Torque wrench (for accurate bolt tightening)
- Exhaust hangers or a hanger removal tool
- Jack and axle stands (or hydraulic lift)
- Exhaust sealant or paste (if required)
- Anti-seize compound (for future removability)
- Gloves and safety glasses
Optional Tools
- Angle grinder or reciprocating saw (for cutting seized components)
- Rubber mallet (for minor adjustments)
- Heat gun (to expand pipe connections or loosen joints)
Step-by-Step Guide to Exhaust Installation
1. Select the Right System for Your Car
Start by identifying a compatible exhaust system for your vehicle.

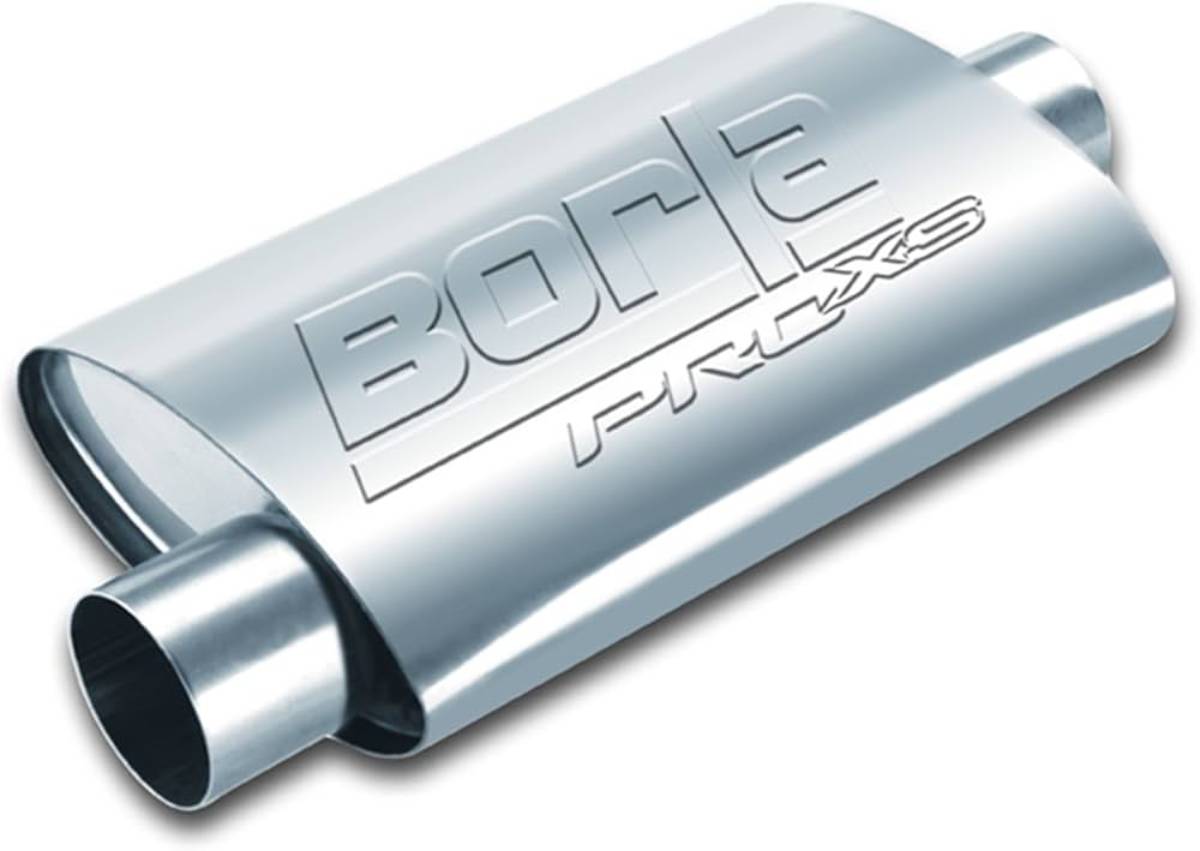
- Borla
- MagnaFlow
- Flowmaster
- Akrapovič
- Remus
When picking a system, think about these points:
- Do you want bolt-on compatibility?
- How loud do you want the sound?
- Are you looking for performance boosts or just visual upgrades?
Check the manufacturer’s installation guide first. It will tell you what tools and parts you might need.
2. Prepare Your Work Area
Park the car on a flat surface with good lighting and adequate ventilation. To raise the vehicle safely, use axle stands or a hydraulic lift.
Safety First:
- Ensure the exhaust is cool before beginning. Exhaust components retain heat for up to an hour after driving.
- Disconnect the negative battery terminal. This helps avoid shorts and protects you if your car has active exhaust sensors or valves.
3. Remove the Factory Exhaust System
This can be the most time-consuming step, especially on older cars.
- Spray all bolts and flanges with penetrating oil and let it soak for at least 10–15 minutes.
- Begin at the rear and work forward.
- Use a socket wrench or breaker bar to undo clamps or flange bolts.
- Remove rubber hangers using pliers or a removal tool. If needed, support the system with a jack or a second person.
- Be prepared to cut sections if rust or seized bolts make removal impossible.
Don’t throw away the old system until the new one is fully set up and tested. You might need to save gaskets and bolts or check sizing.
4. Prepare the New System
Lay out all parts in installation order. Identify pipe sections, resonators, mufflers, clamps, and hangers.
- Lightly sand flange surfaces to ensure a clean seal.
- Apply anti-seize compound to bolts and threads.
- Ensure all hardware is included—if not, source replacements before beginning fitment.
- Double-check that gaskets, clamps, and connectors match the mating points of your car.
5. Install the New Exhaust System
Start at the front and work your way back. Fit the system loosely at first to allow for alignment adjustments.
- Slide the front pipe section into position near the catalytic converter or headers.
- Align pipework section by section, adding clamps or flanges loosely.
- Attach rubber hangers, but don’t fully tighten yet.
- Adjust the tailpipe angle to ensure it sits centrally and clear of bodywork.
Pay attention to:
- Clearance from heat-sensitive components such as fuel lines or brake hoses.
- Pipe alignment to prevent rattling or droning.
Leave at least 1–2 cm of space around pipes to accommodate movement and thermal expansion.
6. Tighten Everything to Specification
With everything lined up, begin tightening from the front to the rear.
- Use a torque wrench where applicable—over-tightening can crack flanges or deform pipes.
- Apply exhaust sealant if recommended, especially at flanged joints.
- Ensure all clamps and connections are secure and leak-proof.
- Check that hangers are in place. Make sure pipes don’t touch the chassis or suspension when loaded.
7. Lower the Vehicle and Conduct a System Test
With everything in place:
- Reconnect the battery.
- Start the engine and allow it to idle.
- Listen for strange sounds. Hissing might mean leaks, and rattling could show contact points.
- Observe the exhaust tips for alignment.
- Use your hand near (not on) joints to feel for escaping air.
- Take a short test drive to evaluate how the car sounds and feels under load.
If you hear a droning sound while driving fast, consider adding a resonator or adjusting your alignment.
Pro Tips and Troubleshooting Advice
Best Practices
- Use stainless steel components for a longer lifespan, especially in areas with salted roads.
- Think about using ceramic-coated pipes for temperature control. This is a good choice if your system is near the cabin.
- Store your original exhaust system if it’s still in good shape—you may need it for resale or MOT reinstallation.
Common Issues to Avoid
- Reusing old gaskets: Always install new gaskets to ensure leak-free connections.
- Skipping torque specs can cause bolts to be under- or over-tightened. This may result in exhaust leaks or mechanical stress.
- Overtightening clamps can crush pipes, deform flanges, and cause permanent damage.
Frequently Asked Questions

Q: Will a custom exhaust void my car’s warranty?
It might—especially if it causes damage or affects emissions. Always check with your vehicle’s manufacturer or dealer.
Q: Is tuning necessary after installing a new exhaust?
Not always. Cat-back and axle-back systems don’t require tuning. A remap is strongly advised if you upgrade headers or remove the catalytic converter.
Q: How long does a full exhaust installation take?
For a DIY install, expect 2–4 hours. Allow extra time for rusted bolts or adjustments.
Q: Is it road legal to remove the muffler or catalytic converter?
No. Removing these components may breach emissions laws and MOT regulations. Stick with systems designed for road compliance.
Q: Can I install a new exhaust without a vehicle lift?
Yes, but it’s harder. High-quality axle stands or car ramps are essential for safety and access.
Conclusion: Let Your Car Roar with Confidence
Installing a custom exhaust system is a rewarding home upgrade. The sound, performance, and visual upgrades make it a hit for car enthusiasts and casual DIYers.
You can change how your car sounds and performs with the right setup and tools. A patient, step-by-step method makes every drive more exciting.
Take your time, follow the steps, and enjoy the transformation. Your car’s voice is about to get a whole lot more exciting.


