How to Retrofit a Backup Camera to Any Car
Reversing is one of the most complex parts of driving, and it often leads to accidents. A clear view of what’s behind you is essential. It’s useful for backing out of tight parking spots, helping avoid low curbs, and keeping an eye out for kids and pedestrians.
You’re not alone if your car didn’t have a reverse camera as standard. Adding a backup camera is now easier and cheaper in the UK. Anyone can do it thanks to readily available aftermarket kits and a growing DIY culture.
This guide helps you install a rear-view camera in your car. It covers everything from picking the right system to testing it. This will increase your driving confidence and safety, and you won’t need to replace your car.
What Is a Backup Camera Retrofit?
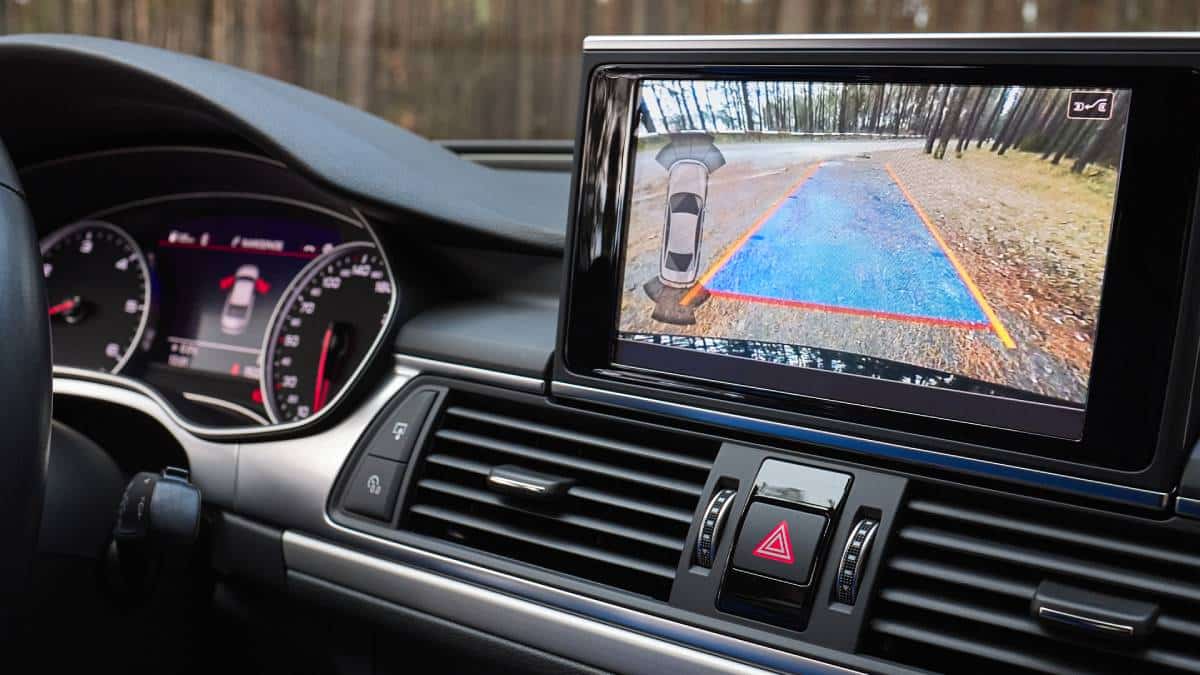
A backup camera retrofit adds a rear-view camera to a vehicle that didn’t have one initially. These systems usually turn on by themselves when the car is in reverse. They show a live feed on a display screen in the dashboard, rear-view mirror, or head unit.
Why Retrofit a Camera?
- Safety: Rear-end collisions are among the most common minor accidents. A camera helps prevent them.
- Visibility: Backup cameras significantly boost visibility in low light. They’re especially helpful in dark or crowded places.
- Convenience: Makes parallel parking, reversing into bays, and towing trailers far easier.
- Modernisation: Adds modern functionality to older cars, enhancing their usability and resale value.
- Legal Compliance: Rear-view cameras are increasingly being made mandatory in many new cars. A retrofit brings your car in line with evolving safety expectations.
Types of Backup Camera Systems
Before buying a kit, consider the different system types. Also, check which display integration best suits your vehicle.
Connection Types
- Wired systems: Require a physical connection from the camera to the display. Most reliable and consistent.
- Wireless systems: These are easier to install but are susceptible to interference or latency.
Display Options
- Rear-view mirror display: Integrates with or clips onto your existing mirror.
- Dashboard-mounted display: Freestanding monitor with suction cup or adhesive base.
- Head unit integration: If compatible, it connects to your car’s infotainment system for a sleek look.
Quick-Reference Installation Checklist
- Choose your backup camera and display type.
- Gather your tools and safely prepare your vehicle.
- Mount the camera at the rear of the vehicle.
- Run wiring (or set up wireless connections).
- Connect the system to the reverse light circuit.
- Install and power the display unit.
- Test functionality and adjust camera alignment.
Step-by-Step Guide: Installing a Backup Camera
1. Select the Right System
Choose a camera that fits your budget and meets your display style.
Key considerations include:

- Night vision capability
- Water resistance (IP67 or IP68 rated)
- Field of view (120°–170° is ideal)
- Compatibility with your car’s wiring and dash space
Well-regarded brands in 2025 include Auto-Vox, eRapta, Garmin, Wolfbox, and Pioneer.
2. Tools and Materials Required
You’ll need the following to complete the job properly:
- Flathead and Phillips screwdrivers
- Wire strippers and crimpers
- Electrical tape and cable ties
- Multimeter (to test the reverse light circuit)
- Drill (if mounting holes are needed)
- Trim removal tools
- Reverse camera kit (camera, display, power wires or wireless module)
Optional but recommended:
- Soldering iron for more permanent wiring
- Fuse tap or add-a-circuit kit for display power
- Conduit tubing for protecting cables
3. Prepare Your Car
- Park the vehicle on flat ground in a well-lit workspace.
- Disconnect the negative battery terminal. This stops electrical shorts and prevents airbags from deploying accidentally.
- Clean the mounting area and identify where cables will run.
Inspect your vehicle’s boot lid, trim panels, and wiring pathways. This will save time and trouble later.
4. Mount the Camera at the Rear
Most camera units are mounted above or below the rear number plate. They may use the number plate screws or be affixed using double-sided adhesive tape.
Steps:
- Secure the camera centrally for an accurate viewing angle.
- Before drilling, check behind the panel. This helps prevent damage to wiring or bodywork.
- Use rubber grommets or sealant to prevent water ingress through any holes.
Tilt the lens slightly down. This helps you see better behind the car.
5. Run Wires from Rear to Front (Wired Systems)
Start at the rear and work forward.
- Tuck wiring along factory channels and behind trim panels.
- Use zip ties to secure cables every 30–50 cm.
- Avoid routing wires near moving parts like hinges or seatbelt mechanisms.
- For a wireless camera, place the transmitter unit close to the camera and power it from the same source.
Wireless systems make this step easier, but you still need a power source close to the reverse light.
6. Connect Power to the Reverse Light
The camera needs to switch on when the car is in reverse. This is achieved by tapping into the reverse light power source.
- Remove the tail light housing.
- Use a multimeter to identify the positive reverse light wire.
- Connect the camera’s power wire to this circuit.
- Ground the system by securing the ground wire to a clean, unpainted chassis bolt.
Avoid twisting wires together. Use T-tap connectors or soldered joints for reliability.
7. Install the Display Unit
Depending on your choice of display:

- Mirror displays: Clip over or replace the stock mirror.
- Dash-mounted monitors: Use included suction cup or adhesive bracket.
- Infotainment integration: Connect using the AV input or a camera port. Professional fitting might be needed.
For wired systems, run the video feed cable from the back to the front. If you’re using a wireless unit, pair the receiver module. Display power is typically supplied from the fuse box or a 12V accessory socket.
Use fuse taps for a neat, protected power source. Hide the wiring behind trim panels for a factory-like look.
8. Test and Adjust the System
Reconnect the battery and start the vehicle.
- Shift into reverse—this should activate the camera.
- Confirm that the display is receiving a clear image.
- Change the camera angle to show the bumper and the area behind the vehicle.
- Check for signal delay, especially in wireless setups. Also, make sure the picture doesn’t flicker.
Check all wiring connections. Tighten any loose parts to stop vibrations or disconnections.
Pro Tip: Leaving wires exposed to weather or mechanical movement.
Important: Do not use a camera that isn’t rated for UK weather conditions—IP68 is the minimum recommended rating.
Best Practices
- Use a multimeter to verify live wires before connecting.
- Secure all wiring away from airbags, moving trim, or heating elements.
- Seal all entry points into the bodywork to prevent corrosion or water damage.
- Choose cameras with integrated guideline overlays to help judge distance.
Avoid These Common Mistakes:
- Powering the camera without proper fusing or grounding.
- Skipping alignment—poor placement results in a distorted or skewed view.
Frequently Asked Questions
Q: Can I fit a reverse camera without any drilling?
Yes. Many models use adhesive or existing number plate screws for mounting. Drilling is only needed for specific models or flush-fit installations.
Q: Is this upgrade legal in the UK?
Yes. Adding a camera to your vehicle is entirely legal. Just avoid obstructing existing lights or number plates.
Q: Will this affect my MOT or insurance?
Not negatively. A working reverse camera can boost road safety, which insurers may see as a positive feature.
Q: How much time does installation take?
Expect a full wired installation to take 2–4 hours. Depending on your vehicle’s layout, wireless systems may take 1–2 hours.
Q: Can I use the display for other inputs (like dash cams)?
Some head units and standalone monitors support multiple AV inputs. Check compatibility before purchasing.
Conclusion: See More, Stress Less
Retrofitting with an Eco Engine a backup camera to your car is one of the smartest safety upgrades you can make. It provides quick visual help. It enhances parking accuracy and lowers accident risk. Plus, you don’t need a new vehicle.
Even with modest DIY skills, you can install a reverse camera system in an afternoon. Take your time, double-check your wiring, and choose the system that best fits your vehicle.
A backup camera helps you drive confidently. It’s useful for backing into tight spots or spotting hazards.


