How to Wrap Your Car in Vinyl Like a Pro
Fancy giving your car a new look without splashing out thousands on a respray? A vinyl car wrap might be the answer. It’s cheap and reversible. If done right, it can match the quality of a pro paint job. Wrapping your car is an easy and customisable mod. You can achieve a sleek matte finish, a bold colour-shift effect, or just protect your paintwork.
In 2025, vinyl wrapping will grow in popularity among UK car owners. Many are choosing to learn how to wrap their cars at home. Wrapping your car is doable. You can achieve great results with the right technique, tools, and preparation. It just takes time and care.
This step-by-step guide, updated in May 2025, explains how to wrap your car in vinyl like a pro.
Understanding the Core: What Is Vinyl Car Wrapping?
Vinyl wrapping involves applying adhesive-backed vinyl film over a car’s painted surface. It’s completely removable and reversible, unlike resprays. It’s perfect for temporary styles, business branding, or protecting the paint underneath.
Benefits of Vinyl Wrapping:
- Customisation: Choose from various colours, finishes, and textures. Options include satin, chrome, gloss, and carbon fibre.
- Paint Protection: A barrier against stone chips, UV rays, and light scratches.
- Resale Value: Keeps factory paint safe. When removed, the wrap shows the paint in excellent condition.
- Cost: A professional respray can start at £3,000. Depending on the materials, wrapping at home can cost much less.
Common Types of Vinyl Finishes:
- Gloss – Mimics fresh factory paint with shine.
- Matte or Satin – Smooth and non-reflective for a modern look.
- Textured (Carbon Fibre, Brushed Metal) – Offers a performance aesthetic.
- Chrome or Colour-Shift – Reflective or multi-tone finishes for standout style.
Quick Guide Summary: Key Steps to Vinyl Wrap Your Car
- Choose your vinyl film based on quality, colour, and finish.
- Clean the car meticulously and prepare your workspace.
- Remove external trim, badges, mirrors, and door handles.
- Measure panels and pre-cut your vinyl with a margin.
- Apply the vinyl using heat, pressure, and smoothing tools.
- Trim, tuck and post-heat to seal edges and eliminate tension.
- Reassemble the car and inspect for errors or lifting.
Step-by-Step Guide: How to Wrap Your Car in Vinyl Like a Pro
1. Choose the Right Vinyl Wrap Film
Invest in reputable vinyl brands such as 3M, Avery Dennison, or VViViD. High-quality vinyl is easier to stretch and move. It has better air-release channels, which help avoid bubbles. Plus, it lasts longer outside.
When choosing your film, consider:
- Finish: Matte, gloss, satin, chrome, brushed metal.
- Durability: Premium wraps last 5–7 years, depending on exposure.
- Ease of Use: Films with air-release technology are beginner-friendly.
Avoid budget films, which are thinner, harder to handle, and more prone to tearing or fading.
Pro tip: Avoid budget films, which are thinner, harder to handle, and more prone to tearing or fading.
2. Gather the Right Tools and Materials
Having the correct tools makes the job easier and more professional.
Essential Tools:

- Gloves (cotton or wrap-specific)
- pliers
- Squeegee with felt edge or level
- Sharp utility knife (with extra blades)
- Measuring tape
- Isopropyl alcohol or vinyl prep cleaner
- Masking tape
- Microfibre cloths
- Surface-safe degreasing soap
Recommended Extras:
- Vinyl cutting/knifeless tape (for precise lines without blades)
- Wrap magnets (for holding vinyl in place)
- Infrared thermometer (to measure post-heating temperatures)
- Portable work stool or step ladder (for roofs and high panels)
3. Prepare Your Workspace and Vehicle
Vinyl applications demand a clean, dust-free environment. Choose an enclosed garage or a sunny day outdoors. The optimal working temperature is between 18 and 22°C.
Vehicle Preparation:
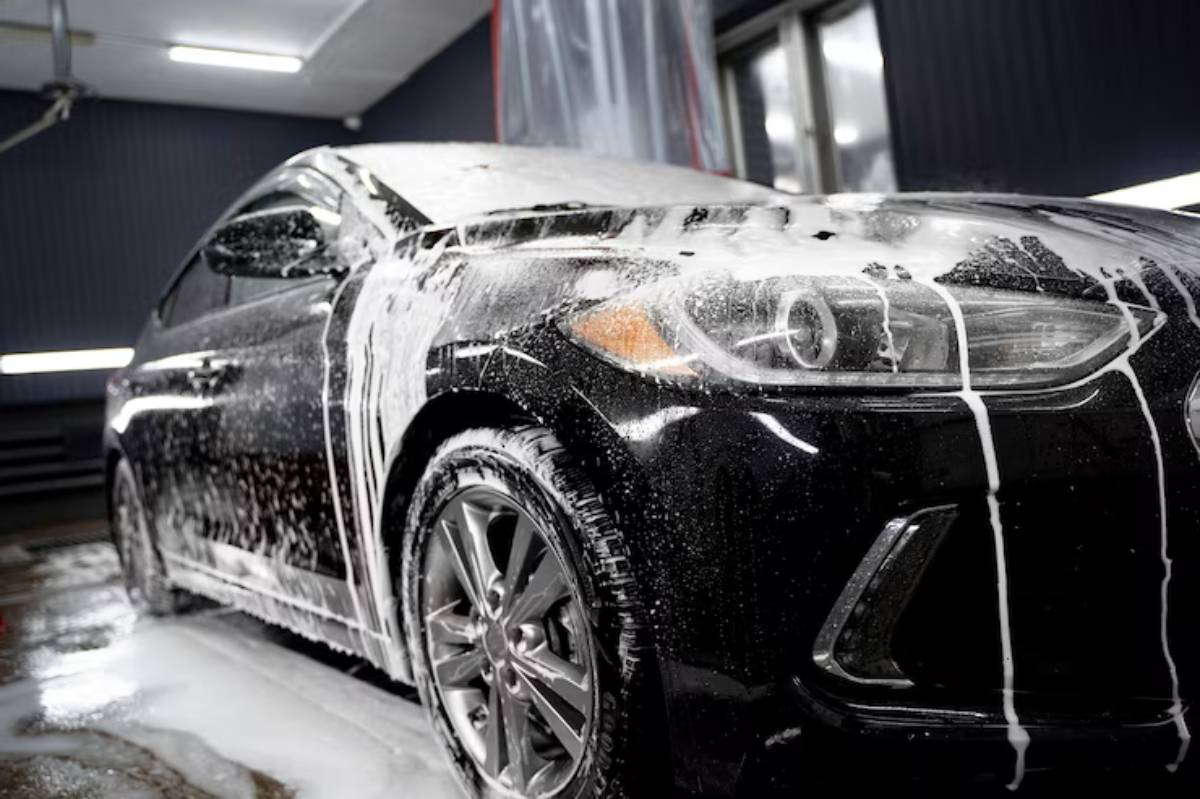
- Wash thoroughly with a degreasing soap to remove wax, oils, and road grime.
- Use a clay bar to lift embedded contaminants from the surface.
- Rinse and dry the vehicle completely.
- Wipe panels down with isopropyl alcohol to remove any remaining residue.
- Remove trims, lights, door handles, and badges. This will reduce seams and give the room a cleaner look.
The quality of your prep directly impacts the quality of your finish. Skipping this stage often leads to bubbles, peeling, or visible imperfections.
Important: The quality of your prep directly impacts the quality of your finish. Skipping this stage often leads to bubbles, peeling, or visible imperfections.
4. Plan and Measure Your Panels
Wrapping requires accuracy. Rushing into it will cost you vinyl and time.
- Measure each panel, like the door, bonnet, or boot. Cut the vinyl with an extra 10–15 cm on all sides. This additional length helps with handling and tucking edges easily.
- Mark the grain direction of textured films like brushed metal to ensure consistency.
- Store cut pieces flat or gently rolled to prevent creases.
Begin with easier panels like the bonnet, roof, and doors. Then, move on to bumpers and mirror caps.
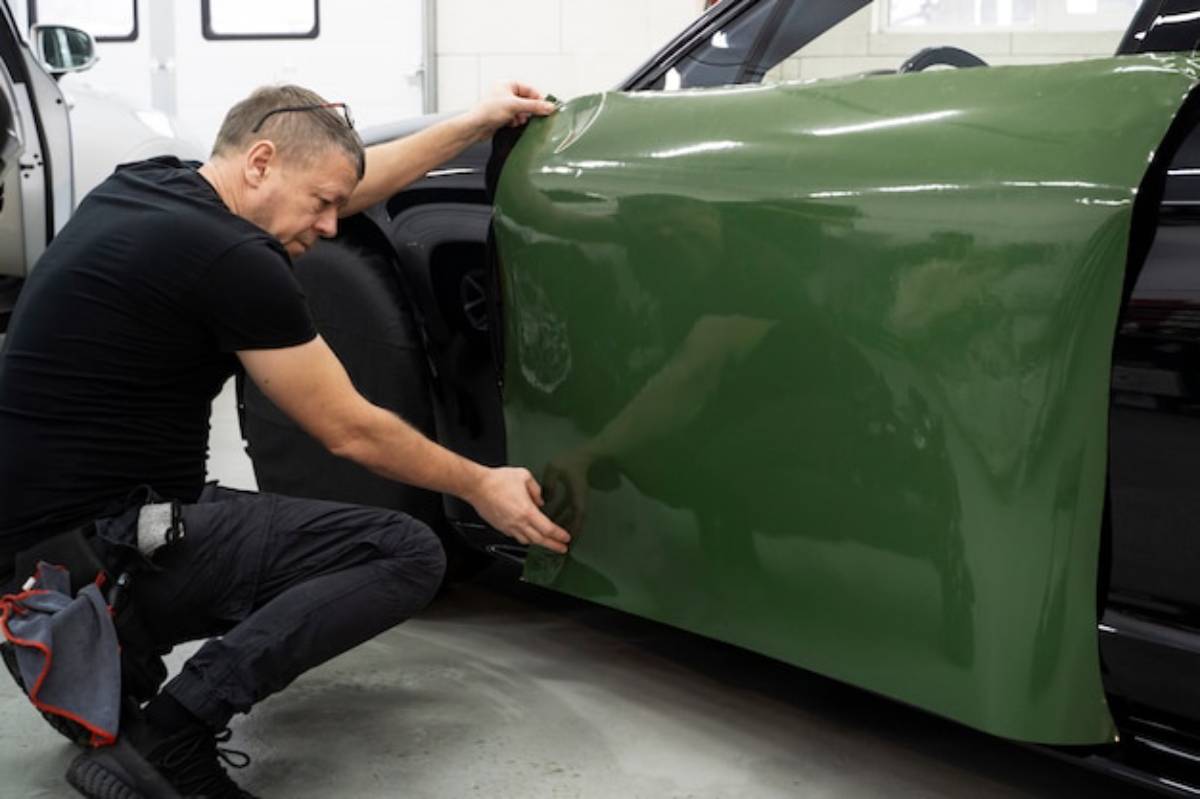
5. Apply the Vinyl One Panel at a Time
Begin with the vinyl sheet held loosely above the surface.
- Position: Use masking tape or magnets to align and hold the vinyl.
- Peel backing: Gradually peel the backing paper and lay down the film from the centre outward.
- Squeegee: Use overlapping strokes to press down and smooth the vinyl.
- Apply heat: Use a heat gun to gently warm the vinyl when stretching it around curves and recesses.
- Reposition if needed: Lift and reapply if you see bubbles or creases. Quality vinyl lets you reposition multiple times.
Avoid overstretching the vinyl as it can thin out the colour or distort patterns.
6. Trim and Tuck Edges
Once the vinyl is adhered smoothly:
- Use a sharp blade to trim excess film around the edges.
- Tuck the film under seals, around panel gaps, and behind trims for a seamless look.
- Work slowly and change blades regularly to avoid frayed or jagged cuts.
Trimmed edges can turn a DIY wrap from amateur to professional.
7. Post-Heat for Longevity
Post-heating involves warming the vinyl to about 90–100°C after installation. This resets the film’s memory and prevents it from shrinking or lifting over time.
- Use an infrared thermometer to measure surface temperature.
- Move the heat gun continuously to avoid burning or blistering the wrap.
- Focus on edges, corners, and areas where the film was stretched.
Not heating the wrap can make it fail early, especially on tight curves or deep areas.
8. Reassemble and Final Checks
Once wrapping is complete:
- Reattach all trims, badges, lights, and door handles.
- Inspect every panel for bubbles, creases, or lifting edges.
- Keep the car in a controlled space for 12 to 24 hours. This helps the adhesive bond completely. Wait before washing or letting it get wet.
Avoid car washes and harsh cleaning for at least 48 hours post-installation to allow the wrap to cure.
Common Mistakes to Avoid
Do:
- Keep your squeegee clean to prevent scratches.
- Take breaks between panels to stay focused.
- Use wrap gloves to reduce friction and fingerprints.
- Use wrap-specific cleaning products during maintenance.
Don’t:
- Wrap over damaged paint, rust, or rough surfaces.
- Install in cold, wet, or windy conditions.
- Stretch the vinyl excessively—it can weaken the adhesive.
- Use blades directly on painted surfaces unless you’re highly experienced.
One of the most common mistakes beginners make is rushing the process. Take your time. Treat each panel like its own project and strive for precision over speed.
Maintenance Best Practices

- Use pH-neutral, wrap-safe car shampoos.
- Avoid polishing or waxing the wrap.
- Rinse frequently to prevent dirt build-up, especially around edges.
- Store the vehicle indoors or under cover to prolong the wrap’s life.
FAQs
Q: How long does a vinyl wrap last?
High-quality vinyl wraps last between five and seven years with proper care.
Q: Is wrapping cheaper than a paint job?
Yes. While a full respray may cost over £3,000, a DIY wrap, depending on materials and tools, can cost £400–£1,000.
Q: Can I wrap a leased vehicle?
Yes, vinyl is removable and does not damage the paint when applied correctly. Always check your lease agreement before proceeding.
Q: What if I mess up a panel?
You can remove and reapply a new section. One of vinyl’s most significant advantages is flexibility and reversibility.
Q: Does vinyl wrap affect insurance?
Yes, in most cases, you need to tell your insurer about any visual changes. This helps keep your coverage active.
Conclusion: Customise Your Ride with Confidence
Vinyl wrapping is a fun DIY project for car lovers and practical vehicle .
You can completely change your vehicle’s look, protect its finish, and show your style—all from your driveway.
You can achieve professional-grade results without professional prices with attention to detail, patience, and the right materials.
Ready to give your car a bold new look? Start with one panel, build your confidence, and you’ll soon be wrapping like a seasoned pro.


