Installing a Carbon Fibre Spoiler: A Step-by-Step Guide
Imagine this: you’re driving on the motorway. Your car feels steady and smooth. Its sporty shape catches everyone’s eye as you zoom by. What’s making the difference? Often, it’s the simple touch of a rear spoiler, especially one made of carbon fibre.
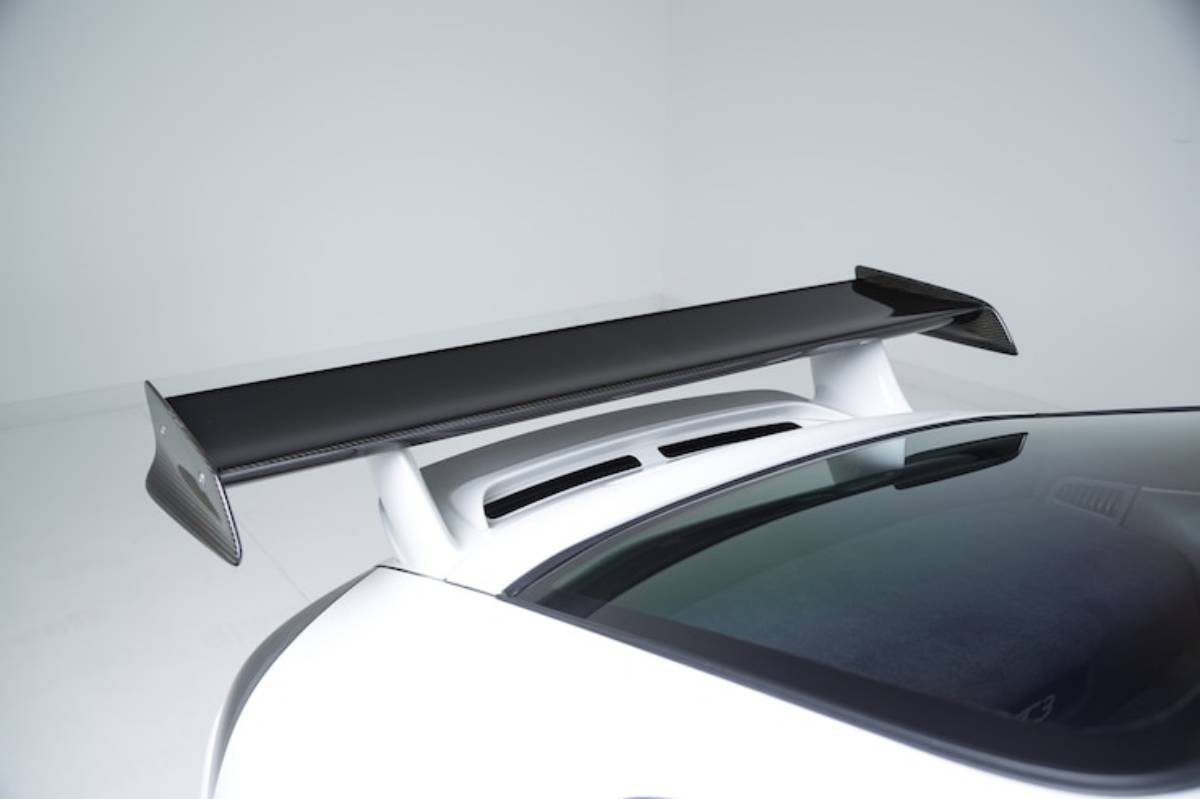
Spoilers aren’t just cosmetic. They increase downforce, reduce drag, and enhance stability in corners or at high speeds when done well. Carbon fibre is popular because it performs well. It is also sleek, lightweight, and durable.
This guide explains everything you need to know about installing a carbon fibre spoiler. Whether you want to do it yourself or understand it better before hiring a pro, we’ve got you covered. Let’s examine the tools, process, tips, and common pitfalls so you can upgrade with confidence.
Why Choose a Carbon Fibre Spoiler?

Lightweight Meets Performance
Carbon fibre is renowned in motorsport and aviation for its incredible strength-to-weight ratio. In the context of road cars, this translates to several distinct advantages:
- Reduced overall weight, which can improve acceleration and fuel efficiency
- Improved aerodynamics reducing lift and helping your vehicle stay planted at speed
- Strong resistance to UV damage, corrosion, and warping, offering long-term reliability
Sleek and Stylish
The unique weave and texture of carbon fibre deliver an unmistakable aesthetic. It goes well with most paint colours and gives a clean, polished look. Whether customising a weekend toy or upgrading a daily driver, it works great.
Adds Value to Your Vehicle
Beyond aesthetics, this upgrade can be a worthwhile investment:
- Increases your car’s appeal on resale, particularly for sports models
- Enhances rear-end grip, especially on rear-wheel drive or performance cars
- Offers a well-rounded blend of function and visual flair
Tools and Materials You’ll Need

Before you begin, gather the following items to ensure a smooth installation.
Tools:
- Electric drill with metal/plastic-compatible bits
- Screwdriver set (Phillips and flathead)
- A measuring tape or ruler
- Marker pen or pencil
- Painter’s or masking tape
- Torque wrench
- Safety goggles and gloves
Materials:
- Carbon fibre spoiler compatible with your vehicle
- Mounting kit (bolts, brackets, or adhesive as specified)
- Automotive-grade double-sided tape (for adhesive-mount spoilers)
- Primer and touch-up paint (to seal any drilled holes)
- Silicone sealant (for additional weather protection)
Tip: Always check your spoiler’s instruction manual. Mounting methods and kits may vary depending on the make and model.
Step-by-Step Car Spoiler Installation Guide
Step 1: Test Fit the Spoiler

Start by placing the spoiler on the boot lid. Make sure it lines up with the car’s body lines. Use masking tape to temporarily hold it in place while you step back and visually assess:
- The fitment and proportions
- Whether it obstructs your rear view or sensors
- Whether the boot operation remains unimpeded
A test fit also lets you plan where mounting holes or tape will be placed.
Step 2: Measure and Mark Drill Points
Use your measuring tape to find the exact centre point of the spoiler and match it with the centre of your boot lid. Carefully mark the positions where mounting holes will be drilled, ensuring:
- Equal distance from each edge
- Symmetry and alignment with the body’s lines
- That you avoid reinforcing frames or boot mechanisms
Take your time with this step — mistakes here will be challenging to disguise later.
Step 3: Drill the Mounting Holes
Safety first: wear goggles and gloves. Begin with small pilot holes using a fine bit. Then, increase to the size needed, as shown in the spoiler’s instructions.
After drilling:
- Clean the edges of the holes
- Apply primer or touch-up paint to prevent rust or corrosion
- Consider using a grommet or washer if the mount requires it
Watch how deep you drill, especially if your boot has internal panels or electronics.
Step 4: Install the Spoiler
There are typically two types of mounting systems:
a) Bolted Mount
- Line up the spoiler’s mounts with your newly drilled holes
- Insert bolts and tighten with a torque wrench to the manufacturer-recommended levels
- Use washers and rubber seals if supplied to prevent over-tightening or water ingress
b) Adhesive Mount (No Drilling)
- Clean the mounting surface with isopropyl alcohol
- Apply double-sided automotive-grade tape to the spoiler
- Press firmly onto the boot and hold for several minutes
- Allow 24–48 hours for complete curing (keep the vehicle dry during this period)
Many kits use a hybrid method. They combine adhesive and mechanical fixings for strength and security.
Step 5: Seal and Finish
Once the spoiler is mounted:
- Check for gaps or movement
- Apply a thin bead of silicone sealant around bolt holes or mounts to waterproof the installation.
- Ensure the spoiler doesn’t rattle or interfere with the boot’s operation
- Wipe down the area to remove any grease, smudges, or fingerprints
You’ve now transformed the look and feel of your car’s rear end.
Common Mistakes to Avoid
- Skipping the Test Fit: One of the most common causes of crooked spoilers
- Incorrect Mounting Materials: Household tape or glue won’t withstand motorway wind pressure
- Failing to Seal Holes: Leads to rust, leaks, and eventual failure
- Over-tightening Bolts: Can crack the carbon fibre or damage your boot
- Not Checking Alignment: Uneven spoilers are difficult to fix once fitted
Get a second pair of eyes when you can. Someone else can find alignment issues and help you avoid expensive rework.
Do Spoilers Improve Performance?
Spoilers aren’t just aesthetic. A well-designed carbon fibre spoiler can:
- Increase rear-end downforce, pressing tyres onto the road and improving grip
- Reduce rear lift, which stabilises your car at higher speeds and during cornering
- In some cases, even reduce drag by streamlining airflow over the back of the car
Automotive engineering and motorsport experts say that the right spoilers can lower drag by as much as 5%. The performance gains are clear in vehicles that often go 50 mph or faster.
When to Consider Professional Installation
If you love installing spoilers yourself, think about getting professional help if:
- Your car has a complex boot design
- You’re unsure about drilling or alignment
- You want paint-matching or integration with other body mods
- You’re fitting a high-value spoiler to a performance or luxury car
A professional installer guarantees a proper fit, warranty protection, and a neat finish. The cost typically ranges from £100 to £300, based on complexity.
Caring for Your Carbon Fibre Spoiler
Keep your spoiler in top condition by:
- Hand-washing with non-abrasive soap and microfibre cloths
- Avoiding automatic washes with stiff brushes
- Applying UV-resistant wax or sealant to prevent yellowing or degradation
- Inspecting periodically for chips or stress fractures
Fix minor chips in the clear coat right away. Use carbon-safe resins or professional repair kits. This helps prevent more damage.
Conclusion: Drive With Confidence and Style
Installing a carbon fibre spoiler on your car isn’t just for looks. It’s an upgrade that blends style and function, giving you a satisfying sense of ownership. A properly installed spoiler boosts grip and cuts drag. It also adds a striking look, making your car stand out on any road.
Whether you’re modding your car for performance, appearance, or both, this guide helps you install easily and confidently.
Take your time, check your measurements, and enjoy the change in how your car looks and feels when you drive.


